Manage API Accounts
Before using Destiny Open APIs to integrate with an app you developed or a third-party app, the Destiny Administrator must set up an API account with credentials for the particular API client.
Add an API Account for Clients
- Log in as a Destiny Administrator.
- Select Setup > API sub-tab
- Click the Add API Account icon,
 .
. The Add API Account page appears.
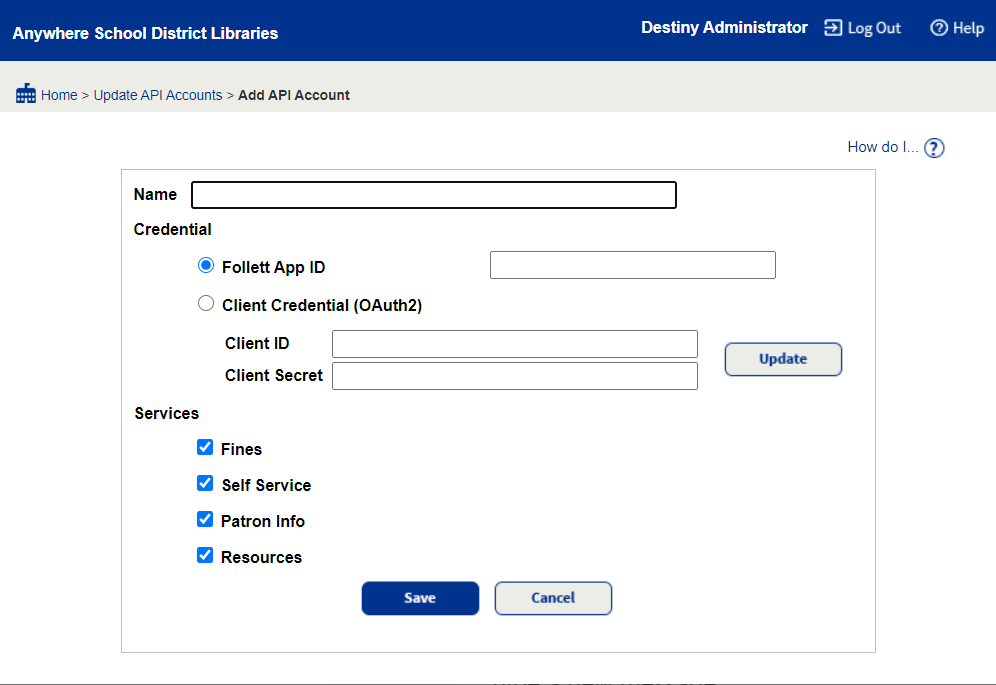
- Enter the Name for the new API account.
- For Credential, either:
- Select Follett App ID, and then enter the ID number in the field.
- Select Client Credential (OAuth2), and then click Update.
These random alpha-numeric strings are the credentials for getting an access token. Share them discretely and securely with the API Account user (often a developer).
Note: Treat these credentials confidentially, like you would any other username and password.
- Under Services, select the services the account can access:
- Fines: This API can be used to get fines across the district.
- Self Service: This API was designed to support the Follett reader and can be used to look up library titles, a patron's checkouts and recently read eBooks and audiobooks.
- Patron Info: This API can be used to look up patron checkout information, like checkouts at a district or site.
- Resources: This API can be used to get the whole resource template tree or a specific resource type by name or ID.
- Click Save.
Note: An API Terms And Conditions pop-up is presented each time you create a new API account. Click I Agree to continue.
Edit an API Account
- Log in as a Destiny Administrator.
- Select Setup > API sub-tab.
- Click the Edit icon,
 . The Edit API Account page appears.
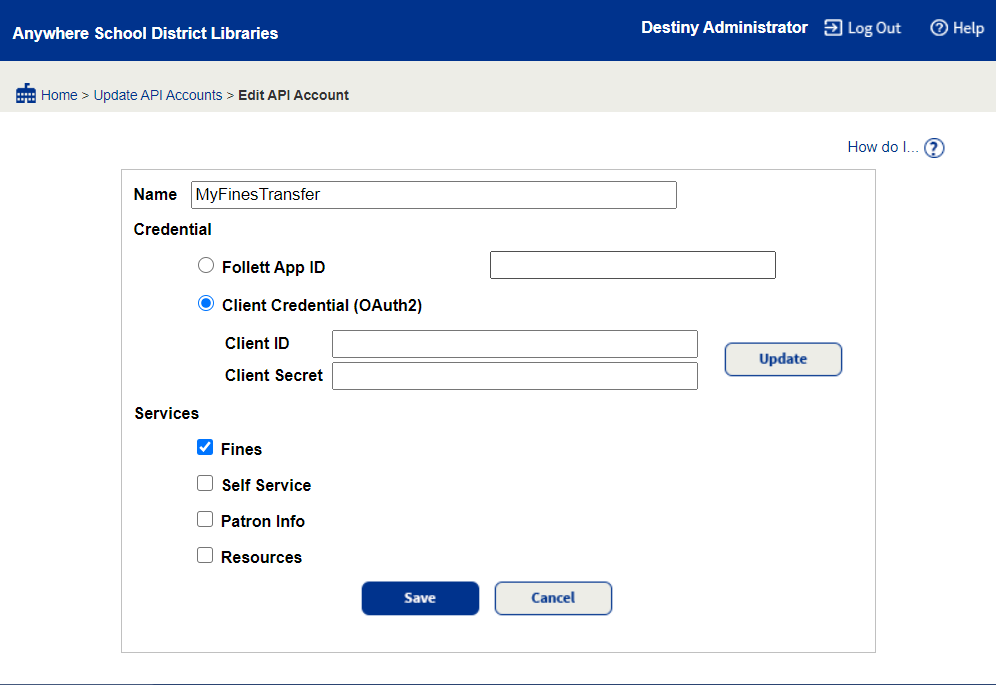
- Make updates as needed, then click Save.
|
Important: See the Destiny Open API’s Developer’s Guide for integration details.
|
")